Planning
Reception logo wall signs: size, light, wall and mounting
Plan a lobby logo wall: size it to the room, pick halo-lit, front-lit or non-lit letters, check the wall finish and power, and mount it flush on the wall.
Updated
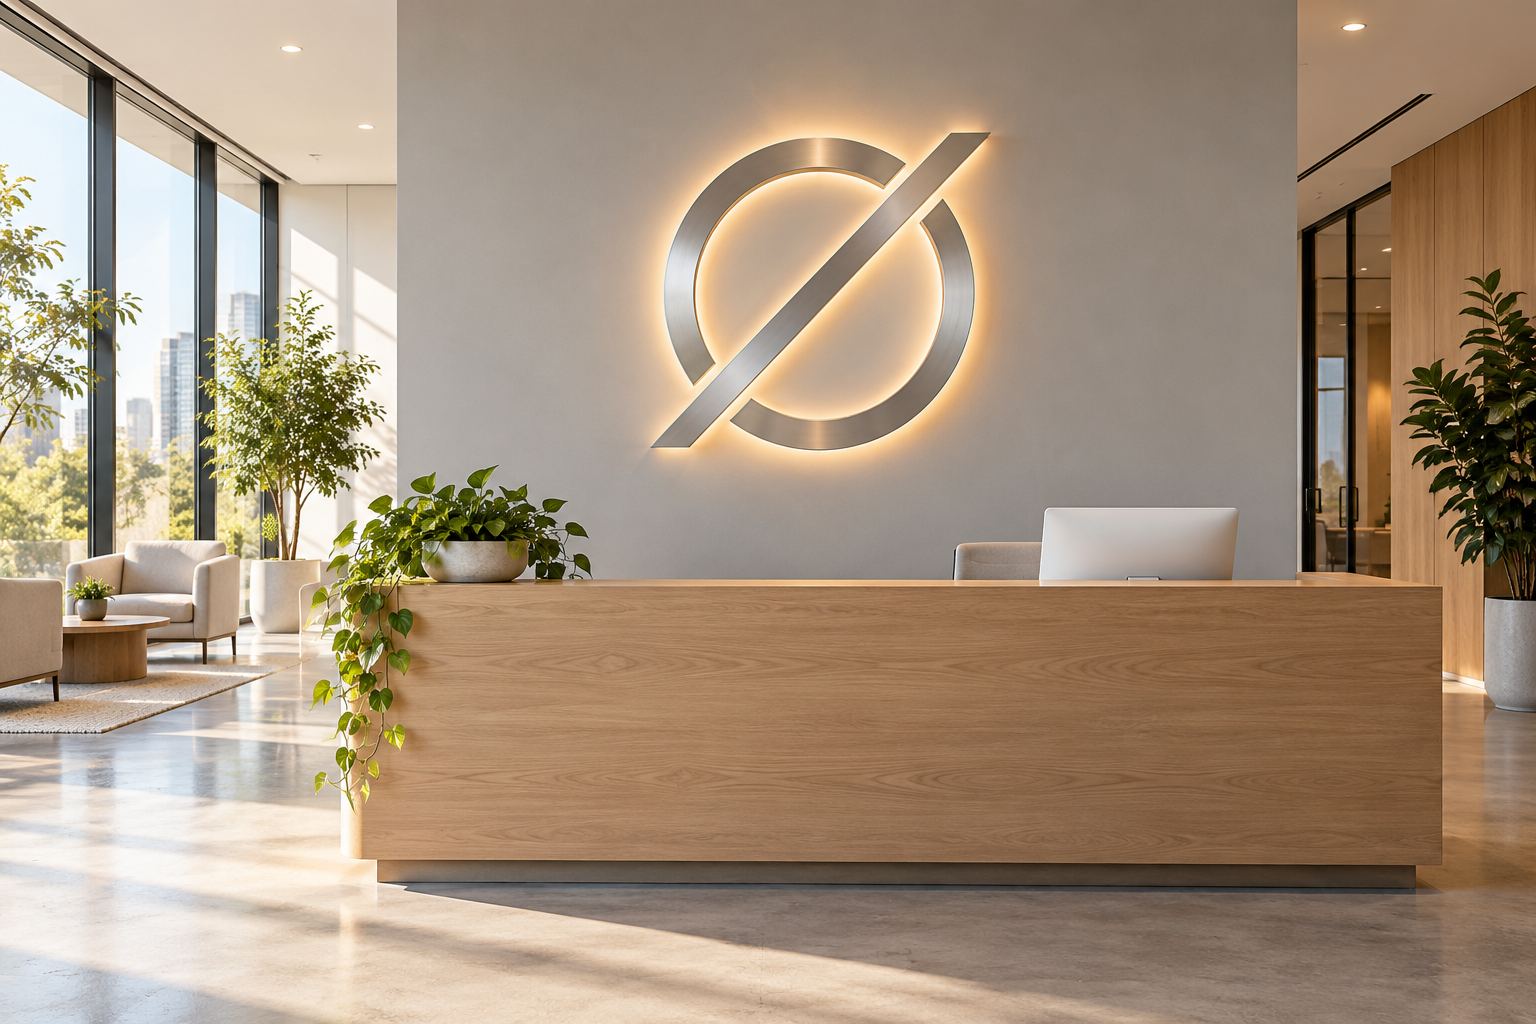
A good reception logo wall comes down to four decisions: a size that suits the wall and the room, a lighting style that suits the logo, a wall finish that works with the light, and a power plan that keeps cords out of sight. Halo-lit stainless letters mounted flush on a light, matte wall are the most common lobby choice, but front-lit and non-lit letters are often a better fit for some logos and rooms.
Size: think about the wall, not the distance
Indoors, visitors see the sign from much closer than drivers outside, so legibility is easy: at 1 in of letter height per 10 ft of distance, 4 in letters read comfortably from 40 ft. The real question is proportion.
- Measure the clear wall. Width, height, and the space taken by the desk, doors, screens, artwork and light switches.
- Decide what the logo must clear. The desk and the heads of the people behind it, the ceiling, corners and door frames.
- Tape the outline. Mark the logo’s outer box on the wall with painter’s tape, or print it on paper at full size.
- Look from the entrance and from the waiting chairs. That is where visitors see it first and longest.
- Check fine print. A tagline in small letters still has to follow the distance rule. At 30 ft, that means about 3 in letters for easy reading.
Sign preview shows how wide your text gets at a given letter height, and how tall should sign letters be has the full chart. If the logo will sit low on a desk or shelf instead of the wall, look at desktop channel letters.
Where on the wall
There is no single standard height. Most logos look right centered above the desk, high enough that people standing at the desk do not block it, and low enough that it does not crowd the ceiling. A tape outline is the quickest way to judge it. When the sign arrives, the full-size paper mounting template lets you check the exact position once more before anyone drills.
Choose the light for the logo
| Style | Looks like | Suits |
|---|---|---|
| Halo-lit | Solid stainless face, glow on the wall behind each letter | Most logos; offices, clinics, salons, studios |
| Gold halo-lit | Gold (titanium-coated) stainless face with a warm glow | Hospitality, beauty, finance, anything with warm wood |
| Black or painted halo-lit | Face painted to match the brand, glow behind | Strong single-color logos |
| Printed-face halo | The face printed with your artwork | Multi-color logos and gradients |
| Front-lit | Glowing colored acrylic face | Logos that depend on a bright brand color |
| Front-and-back lit | Glowing face plus a halo | Logos that need a lit face and a halo at once |
| Non-lit stainless | Brushed, mirror, gold or painted metal | Bright lobbies with lots of daylight |
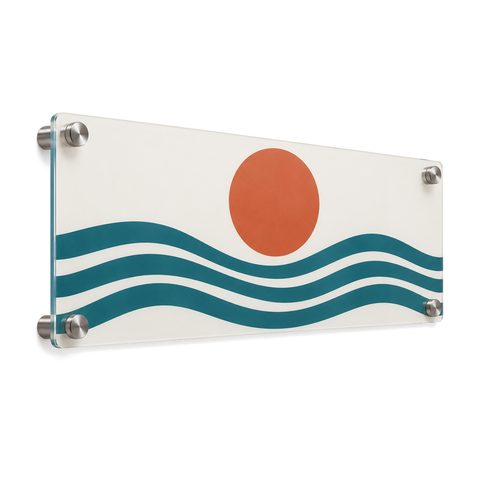
| Halo-lit printed acrylic panel | A full-color printed panel on standoffs, with a glow on the wall around it | Detailed logos that are hard to cut into letters |
| Open-face with LED neon | Visible LED neon lines inside stainless channels | Creative studios, gyms, cafes |
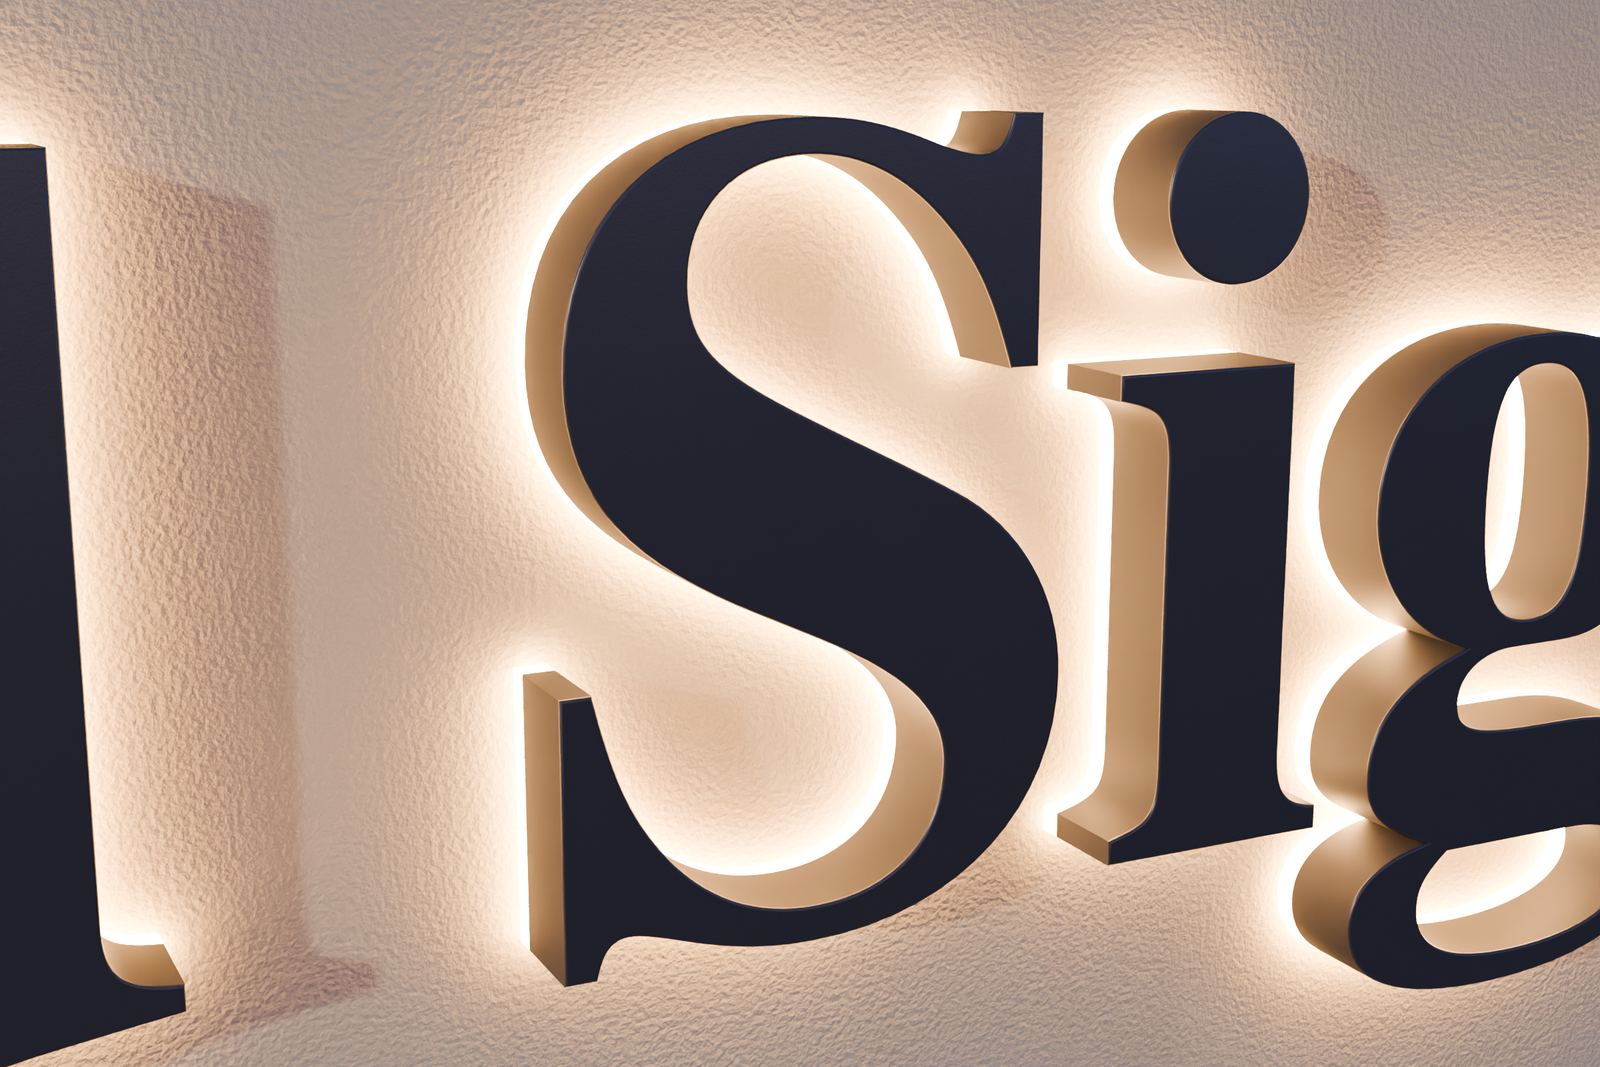
Halo-lit letters explained goes deeper on how the glow works, and stainless steel letter finishes covers brushed, mirror and gold. Mirror finishes show fingerprints, so keep them out of easy reach.
Light color
Choose white (6500 K), neutral white (4000 to 5000 K) or warm white (2700 to 3000 K). Warm white usually suits wood, brass and gold; neutral and cool white suit white, gray and glass interiors. Adjustable white lets you change it later, and a dimmer lets you turn the glow down in a dim lobby. LED color temperature for signs compares them.
The wall behind the logo
With halo-lit letters, the wall is part of the sign.
- Best: light paint in a matte or satin finish. It gives the cleanest, most even glow.
- Glossy surfaces: tile, polished stone, glass, mirror and high-gloss paint reflect the LEDs as bright spots instead of a soft halo.
- Dark walls absorb much of the light, so the halo looks dim. Front-and-back lit letters, or a lighter backer panel, help.
- Colored walls tint the glow; a white halo on a red wall takes on a red cast.
- Heavy texture, such as rough plaster, wood slats or stone, makes the glow patchy.
Letters mount flush, so the surface also needs to be reasonably flat where each letter sits. If the wall is slatted, textured or glossy, a backer panel gives the letters a clean surface.
Power: plan it before the wall is finished
Indoor signs run on 12 V DC LEDs and usually plug into an ordinary outlet through a 100 to 240 V adapter. The trick is hiding the cord:
- Put the outlet where you cannot see it: behind the desk, inside a cabinet or above the ceiling.
- Run the low-voltage wire from the letters through the wall to the adapter. Ask an electrician how it should run in your wall, especially if you are adding an outlet.
- Decide how the sign switches on: a wall switch, a smart Wi-Fi sign switch, a timer, or a dimmer.
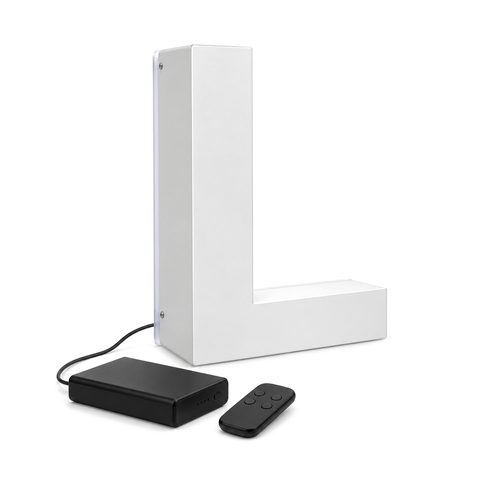
If there is no outlet and you cannot add one, battery-powered halo letters run from a rechargeable battery pack with a remote. Battery-powered light-up letters explains run time and charging.
Mounting
Our letters mount flush to the wall. Floating letters and standoffs are not standard; we only add standoffs when you ask for them. Every sign ships with a full-size paper template and the mounting hardware. On drywall, light letters can mount directly, while heavier letters go into the framing or onto anchors rated for their weight; mounting letters on brick, stucco and drywall covers each wall. The one exception to flush mounting is the printed acrylic panel, which always stands off the wall so its light can spread behind it.
Installation is not included; a local installer or a handy contractor can mount an indoor sign with the template.
Planning checklist
- Measure the wall, the desk and anything in the way.
- Tape up the outline and check it from the door.
- Choose the style, finish and light color.
- Check the wall finish, or plan a backer panel.
- Plan the outlet and switch, or choose battery letters.
- Send your logo file and wall size through get a free drawing. What file to send explains the best files.
For finished examples, see our reception logo wall projects, and browse halo-lit letters and logo signs.

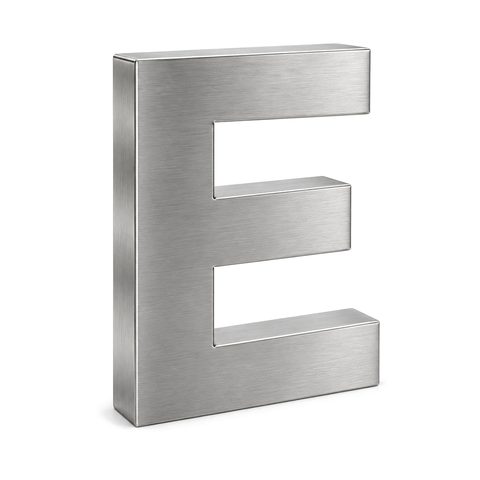
 Mirror Gold Stainless Steel Letters
 Front-Lit Channel Letters
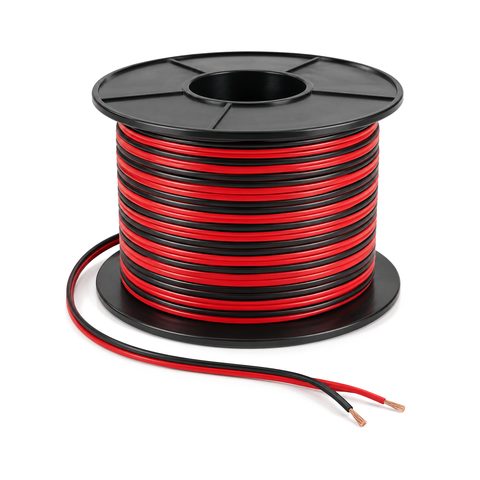 18/2 Low-Voltage LED Wire
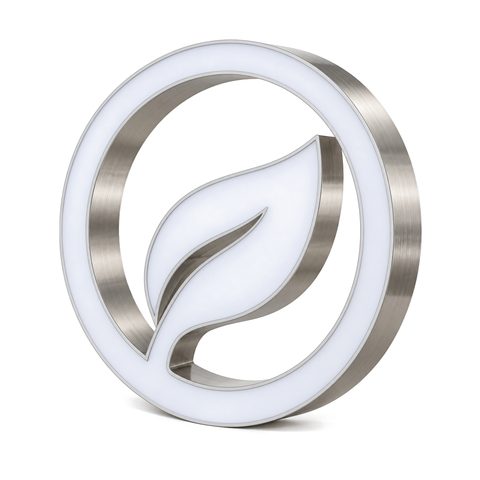 Custom Lit Logo Sign
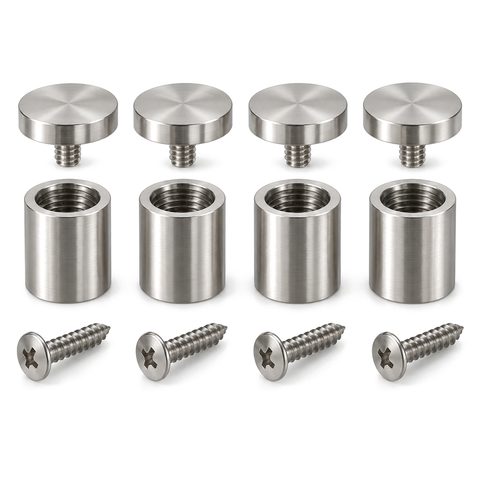 Stainless Steel Sign Standoffs
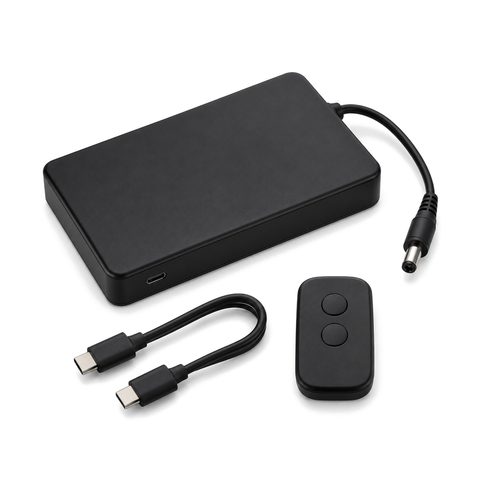 Rechargeable Battery Pack and Remote for Lit Signs