Install and care
How to install channel letters with a paper template
Flush-mount channel letters step by step: tape up the 1:1 template, drill stud and wire holes, set the studs, and have an electrician do the power hookup.
Updated
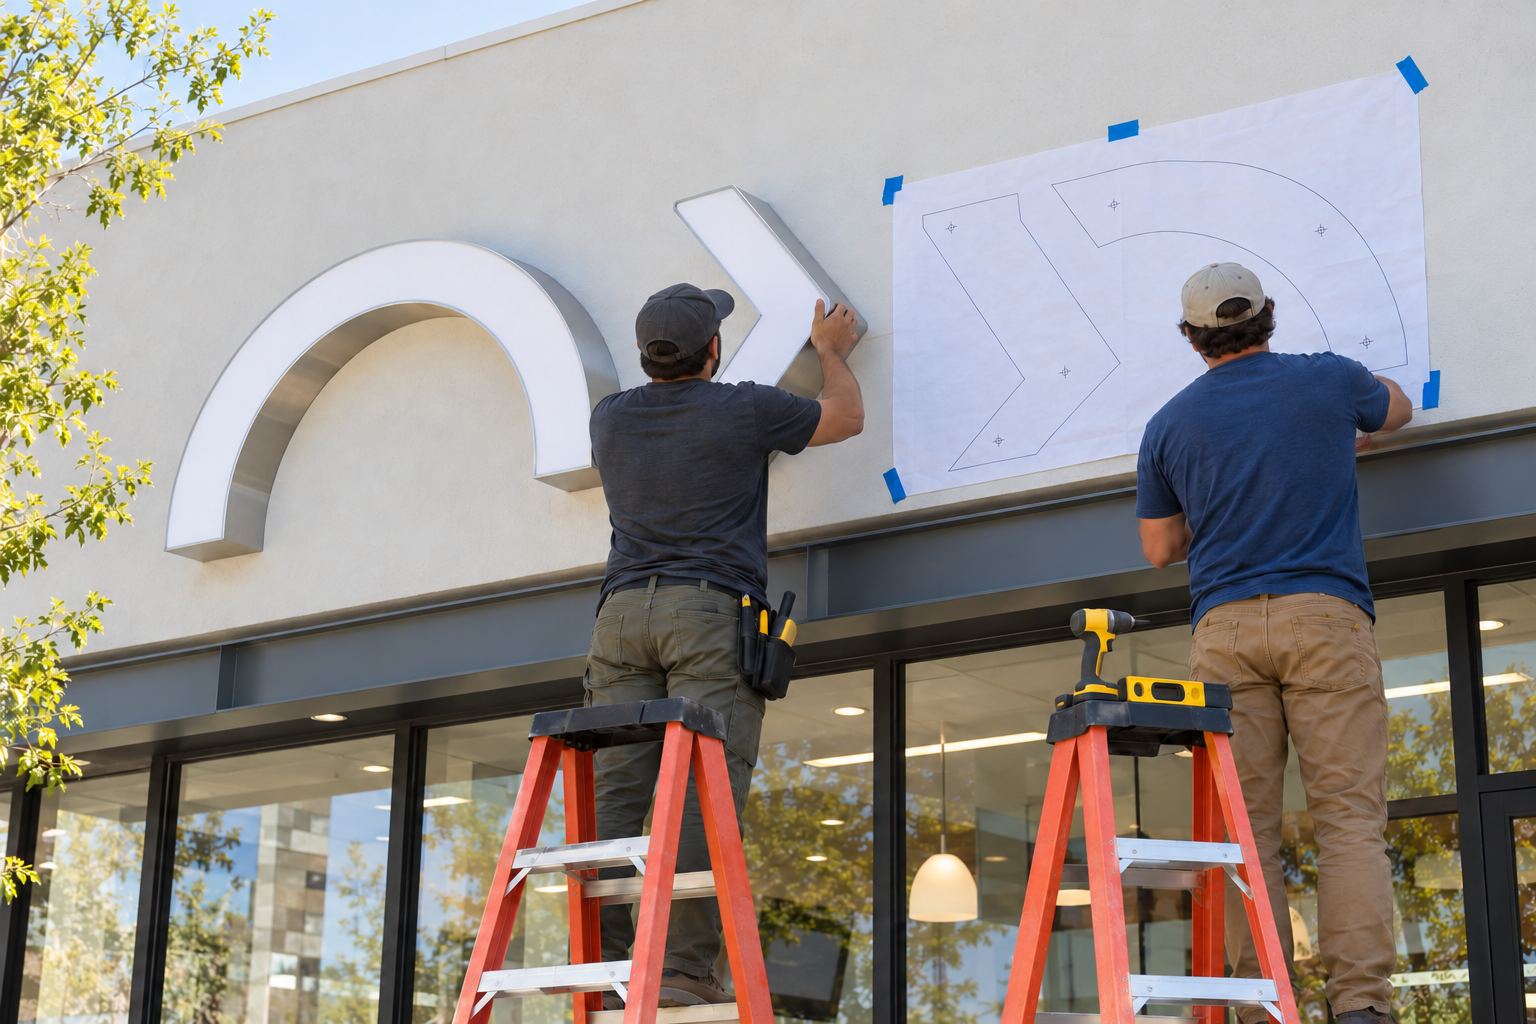
Most channel letters go up flush on threaded studs. You tape the full-size paper template to the wall, mark and drill the stud holes and wire holes it shows, set the studs in adhesive, and press each letter home. A licensed electrician then connects a hard-wired sign to the building’s power; an indoor sign usually just plugs in.
Our letters mount flush to the wall. Every sign ships with a full-size (1:1) paper mounting template and the mounting hardware. Installation, permits and the electrician are not included, so this guide is for you or the installer you hire.
Before you start
- Permit and landlord. Many cities require a sign permit, and a commercial lease often requires landlord approval of the sign and the mounting method. Get both before you drill. See sign permits: what cities ask for.
- Know your wall. Brick, block, stucco, foam-based stucco (EIFS) and drywall each need a different drill bit and anchor. Mounting letters on brick, stucco and drywall covers each one.
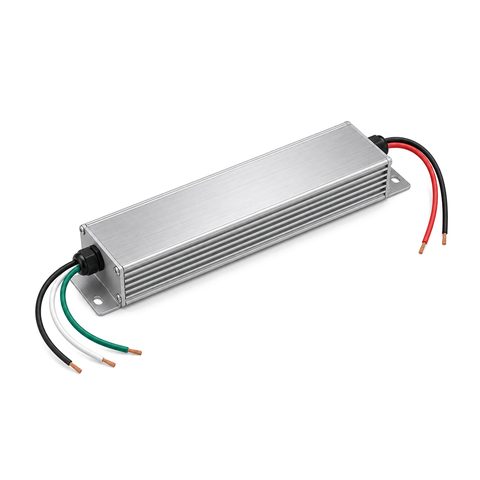
- Plan the power. Decide with your electrician where the power supply will go: inside the building behind the sign, inside a raceway, or in a weatherproof box. The electrical code wants sign power supplies to stay reachable for service and a disconnect switch within sight of the sign.
- Check behind the wall. Before drilling, find out what is behind the sign area: wiring, pipes, framing or an open cavity.
- Pick a dry day. Adhesive cures slowly in cold or wet weather.
What you need
From the box: the letters, the full-size paper template and the mounting hardware.
From you: a tape measure, a long level, masking tape (duct tape holds better on brick), a marker or center punch, a drill with bits that suit your wall (a hammer drill and masonry bits for brick, block and stucco), a way to blow dust out of the holes, the adhesive or anchors your hardware instructions call for, exterior silicone for sealing, and a ladder or lift.
Work safely
- Turn off the circuit at the breaker before you go near any line-voltage wiring. Hooking a hard-wired sign to the building’s power is a job for a licensed electrician. The 12 V side, meaning the LED modules and the low-voltage wire, is what you can handle yourself.
- Set an extension ladder about 1 ft out from the wall for every 4 ft of height, keep three points of contact, and never stand on the top step or cap.
- Use two people for large letters: one holds and places, the other checks level from the ground. For high walls, rent a lift instead of reaching from a ladder.
If you hire an installer
Many owners hire a local sign installer for the mounting. Ask before you book:
- Licensing and insurance. Rules vary by state and city. Some states license sign contractors; California has a sign contractor classification and Texas licenses electrical sign contractors. Many cities only issue sign permits to a registered contractor with insurance.
- Permits. Will they file the sign permit, and who books the inspection?
- Your wall. Have they mounted letters on your wall type, and which anchors will they use?
- Access. Do they bring the lift or scaffold the wall needs?
- The electrician. Who coordinates with the electrician, and is the power supply location agreed?
- The old sign. Will they take it down and patch the holes?
- Their work. What does their workmanship cover, and for how long?
Give them this guide, the template and the hardware. The checklist for the whole order is in questions to ask before you order a custom sign.
Taking down an old sign
If a sign is already on the wall, deal with it before the template goes up:
- Power first. Have an electrician disconnect the old sign. Older neon signs have high-voltage transformers, so leave their wiring to a professional.
- Patch and paint. Old stud holes, wire holes and the outline of the old sign usually show once it is off. Fill and paint them first, so the new layout does not fight old holes.
- Check the template against old holes. If a new stud hole lands on or right beside an old one, ask your installer whether to fill the old hole first or shift the layout slightly.
If you are keeping old neon letters and only relighting them, see LED vs neon signs.
Step by step
- Mark the sign’s position. Measure the sign area and mark a center line and a level line lightly on the wall. How to measure your wall for a sign shows what to measure.
- Hang the template. Line the template up with your marks, level it and tape it flat. Step back, or cross the street, and check the spelling, spacing and height before you drill anything.
- Mark the holes. Mark through every stud hole and every wire hole on the template with a marker or center punch. Then take the template down. Drilling is more accurate on a bare wall.
- Drill the stud holes. Use a bit slightly larger than the studs so you have a little room to adjust. Drill straight into the wall and a little deeper than the studs are long; letter makers usually call for at least 1-1/2 in. On brick and block use a hammer drill and a masonry bit. On stucco, start without the hammer setting so the surface does not chip. Blow all the dust out of each hole.
- Drill the wire holes. Each lit letter has one wire hole marked on the template, where its lead wire passes through the wall to the power supply. Your electrician may want a sleeve or conduit in that hole; ask before you drill.
- Dry-fit every letter. Without adhesive, press each letter’s studs into its holes. If a letter does not sit flat and straight, open up the hole a little. Do not force studs in.
- Set the letters. Fill each hole with adhesive, coat the studs as well, and press the letter in until it sits flat against the wall. Hold it in place with long strips of tape while the adhesive cures, and work through the letters in order. Step back and straighten any letter that drifted before the adhesive sets.
- Seal the wire holes. Seal around each wire where it enters the wall with exterior silicone. Leave the drain holes in the bottom of outdoor letters open. On halo-lit letters, do not caulk around the back edge: that is where the glow comes out.
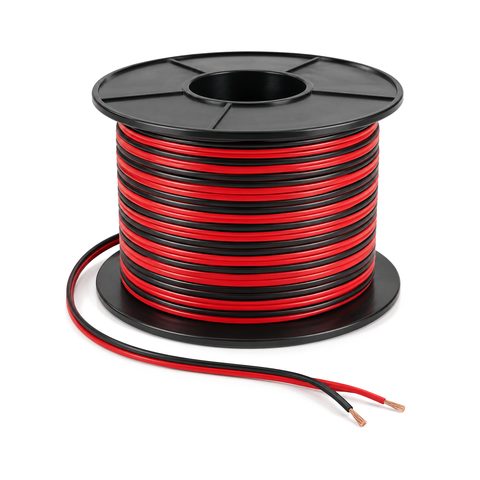
- Run the low-voltage wire. Route each letter’s lead to the power supply with low-voltage LED wire, and connect positive to positive and negative to negative.
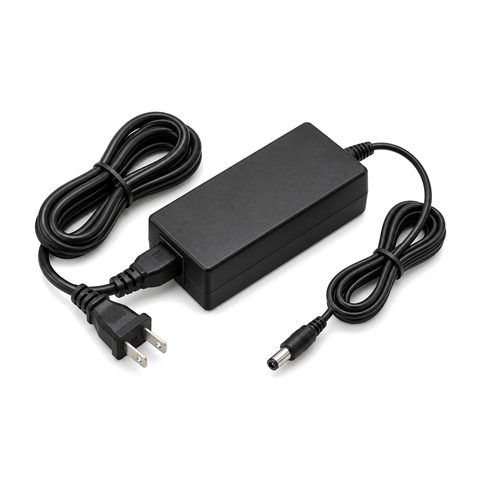
- Connect the power. For a hard-wired sign, the electrician connects the power supply to the building circuit and adds the disconnect switch. For an indoor sign, plug in the adapter.
- Test after dark. Check that every letter lights evenly, then set the timer or photocell if you have one.
If your sign is on a raceway
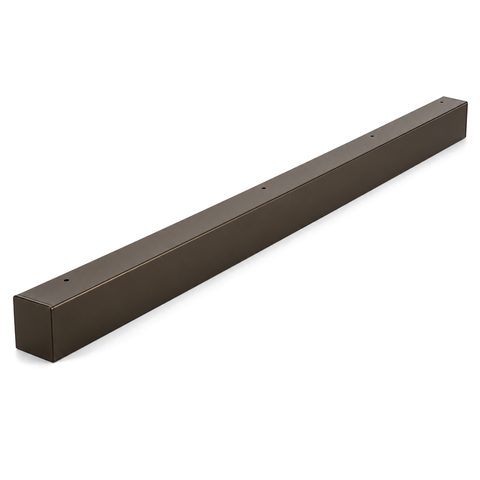
Raceway signs go up differently: the letters are already mounted on the raceway, so you fasten the raceway to the wall with a handful of anchors and the electrician brings power to it. See raceway vs direct mount and the channel letter raceway.
Standoffs and spare hardware
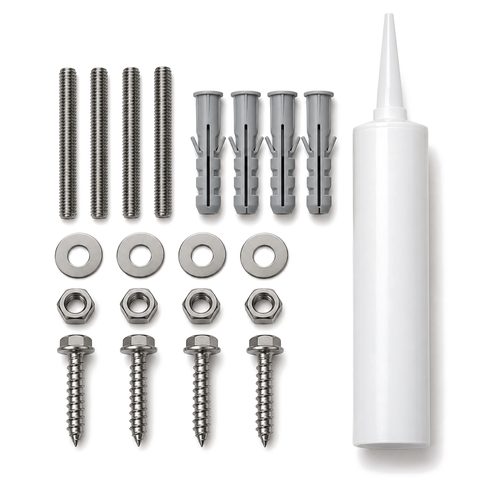
Our letters mount flush. If your building or landlord asks for letters to sit off the wall, standoffs are available on request through the standoff mounting kit. If you lose a stud or need extra anchors, order a letter mounting hardware kit. For anything else, get a free drawing and tell us about your wall.

 Front-Lit Channel Letters
 Halo-Lit Channel Letters
 Raceway for Channel Letters