Planning
How to measure your wall for a sign: sign band and photos
Measure the sign band, mark what is in the way, note the wall surface and the power, and take the photos we need for an accurate free sign drawing.
Updated
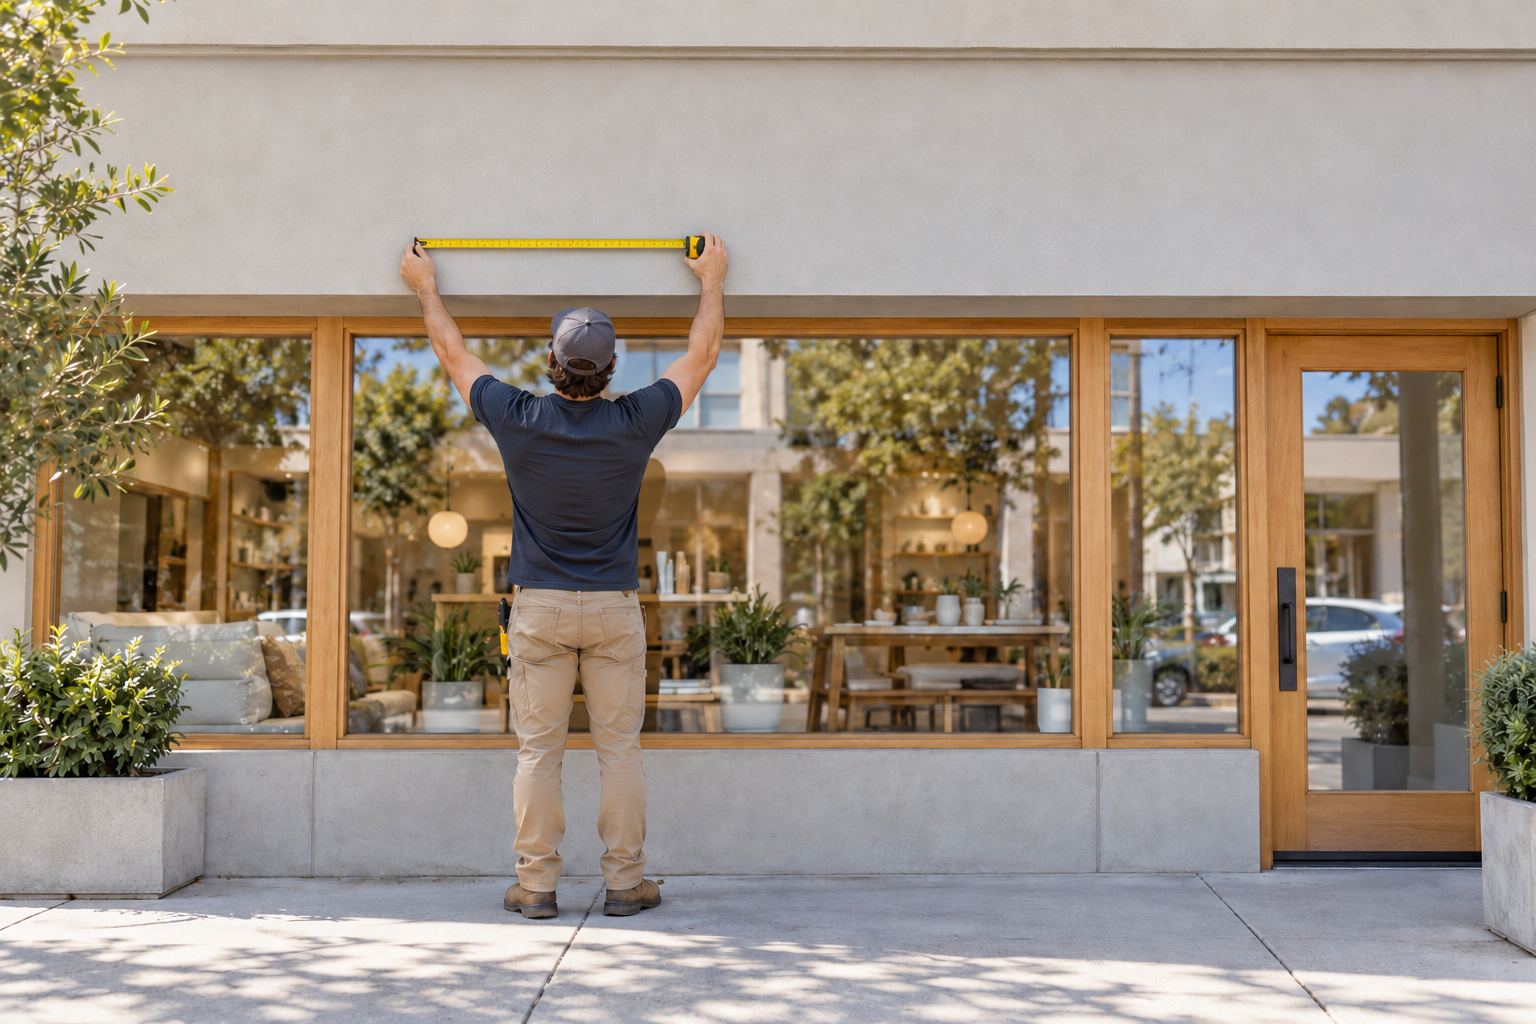
To measure a wall for a sign, measure the flat area the letters can use (the width and height of the sign band, or the clear wall indoors), mark everything in the way, note the wall surface and where the power is, and take a few straight-on photos with a tape measure in the shot. That is everything we need to draw your sign at its real size on your wall.
It takes about half an hour with a tape measure, a ladder and a phone.
What you need
- A 25 ft tape measure, or a laser measure for high or wide walls
- A ladder, or a helper on the ground for long runs
- Painter’s tape for marking corners and obstacles
- Your phone camera
- Your lease or the landlord’s sign criteria, if you have them
Step 1: Find out where the sign is allowed to go
Before you measure, check what you are allowed to use. In a shopping center, the lease usually points to sign criteria that set the sign band, the maximum letter height, colors and whether a raceway is required. Many criteria also cap the sign’s length at a share of your leased frontage (70, 75 and 80 percent are common figures) and ask for the sign to be centered. Your city has its own limits on total sign area, covered in how cities measure sign area.
If there are no written rules, the sign area is usually the flat wall above the door and windows, between the top of the storefront frame and the roof line or the next floor.
Step 2: Measure the sign band
- Width. Measure the flat surface from edge to edge, at the top and at the bottom. Use the smaller number. Measure the flat face, not the trim or cornice that sticks out around it.
- Height. Measure at both ends and in the middle. Older buildings are rarely square, and the smallest height is the one that counts.
- Storefront width. Measure the whole width of your unit along the street. Cities use this frontage to set how much sign you can have.
- Height above the ground. Measure from the sidewalk to the bottom of the sign band. Installers need it to plan equipment, and permit drawings often show it.
Write the numbers in feet and inches, like 24 ft 6 in.
Step 3: Mark what is in the way
Walk the band and list anything the letters must avoid. Measure each item’s position from the left end of the sign band.
- Wall lights, gooseneck lamps, cameras, speakers and alarm boxes
- Downspouts, vents, conduit and junction boxes
- Holes, patches and anchors from an old sign
- Expansion joints, brick ledges, panel seams and changes in material
- Awnings, address numbers, trees and anything that blocks the view from the street
A shadow line, a seam or a light fixture in the middle of a word is the kind of thing a drawing can work around, but only if we know it is there.
Step 4: Note the wall surface
Our letters mount flush to the wall, so the surface matters.
| Surface | What to tell us | What it can mean |
|---|---|---|
| Brick | Brick or painted brick, how deep the mortar joints are | Anchors usually go into brick or mortar; deep joints or a rough face may suit a raceway |
| Stucco or foam-backed finish | Whether it sounds hollow when you knock | The installer needs to reach solid backing behind the finish |
| Metal or composite panels | Panel seams and where they run | Seams should not cut through a letter |
| Siding or wood | Direction of the boards | Letters may need a flat raceway or backer to sit flush |
| Concrete or block | Painted or bare | Solid, straightforward mounting |
| Indoor drywall | Stud direction if known, wallpaper or paint finish | Anchors or studs; see reception logo walls |
When a wall is very uneven or the landlord limits holes, letters on a raceway or letters on a backer panel can be a better fit. Raceway vs direct mount and mounting letters on brick, stucco and drywall go deeper. For a raceway, the raceway length helper works out the length from your letters.
Step 5: Find the power
For a lit sign, look for an existing junction box, old sign wiring or a capped conduit on or behind the sign band. Measure where it sits from the left end of the band, and note whether it is on a switch or a timer. Outdoor signs are hard-wired by a licensed electrician; indoor signs usually plug into an outlet through an adapter, so note where the nearest outlet is. Sign electrical requirements explains what the electrician will look at.
Step 6: Take the photos
Hold the phone level, stand square to the wall, and avoid wide-angle mode, which bends straight lines.
- The whole front from across the street, straight on.
- The sign band straight on, with a tape measure stretched across it or a door or window whose size you know.
- The front from each direction customers arrive, by car and on foot.
- A close-up of the wall surface.
- Any existing sign, power box or wiring.
- A night photo if nearby lights or neighboring signs matter.
What to send
| Item | Example |
|---|---|
| Sign band width and height | 24 ft 6 in by 36 in |
| Storefront (frontage) width | 25 ft |
| Sidewalk to bottom of band | 11 ft 2 in |
| Landlord limits | sign 75 percent of frontage, centered, max letter height 24 in |
| Obstacles | light fixture centered at 6 ft from left, 8 in wide |
| Wall surface | painted brick, shallow joints |
| Power | junction box at 12 ft from left, behind the band |
| Text or logo | your file, see what file to send |
Send it through get a free drawing. You will get a drawing with the sign at its real size on your wall, a lit preview and an exact price. To check sizes yourself first, try sign preview and the letter height calculator.
Before anyone drills
Every sign ships with a full-size paper mounting template and the mounting hardware. Tape the template to the wall first and step back to the street. It shows exactly where each letter and each hole goes, so the last check happens before the first hole. The mounting collection has spare mounting hardware kits and raceway parts.


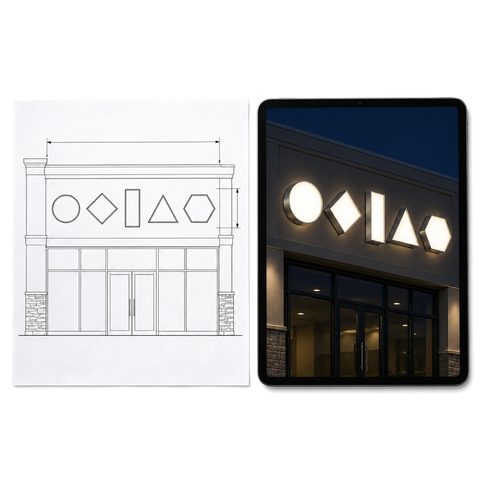 Free Sign Drawing and Lit Preview with Exact Price
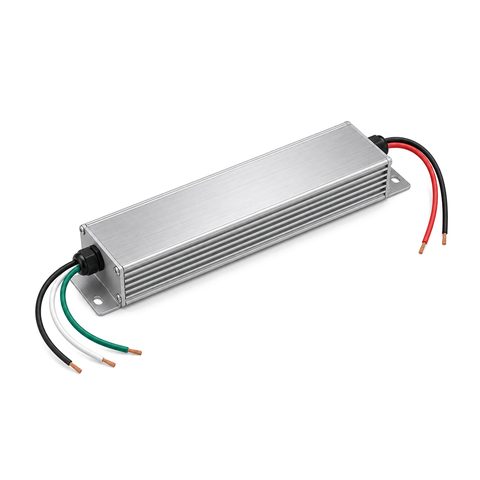 12V LED Sign Power Supply