Install and care
Mounting sign letters on brick, stucco and drywall
Which drill bit, anchor and sealant to use when mounting channel letters on brick, block, stucco, EIFS foam or drywall, and what to avoid on each wall.
Updated

Mount into the solid part of the wall. On brick and concrete, drill with a masonry bit and set the studs in adhesive, using screen tubes in hollow block. On hard-coat stucco, drill through to the solid layer behind it and seal every hole. On EIFS foam, the hardware must go through the foam to the building’s structure. Indoors on drywall, light letters can sit on studs set in adhesive, while heavier letters go into the framing or onto anchors rated for their weight.
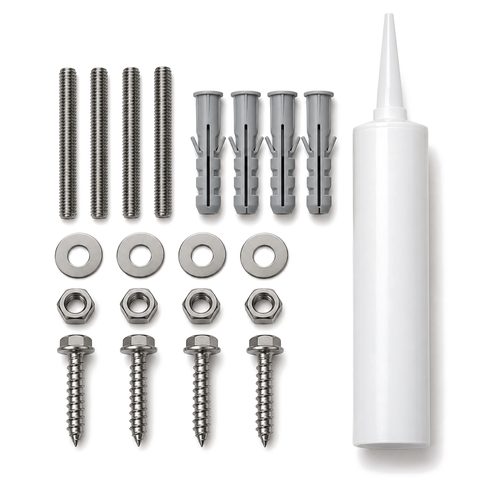
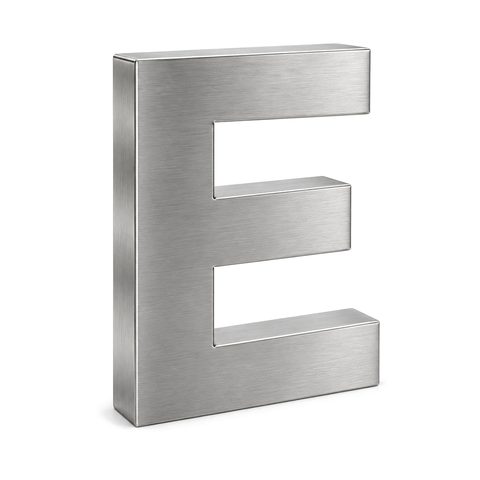
Our letters mount flush to the wall on the hardware that ships with them, laid out by the full-size paper template. The method is the same on every wall. What changes is the drill bit, how deep you go and what holds the studs. For the full sequence, see how to install channel letters.
First, find out what your wall is
| Wall | How to tell | What is behind the surface |
|---|---|---|
| Brick | Visible bricks and mortar joints | Solid brick, or a single layer of brick over framing or block |
| Concrete block (CMU) | Larger blocks; often painted | Hollow cells, unless the cells were filled with grout |
| Poured concrete | Smooth, seamless, very hard | Solid concrete |
| Hard-coat stucco | Sounds solid when tapped, no give | Wire lath over sheathing and framing, or over masonry |
| EIFS (foam stucco) | Sounds hollow, gives slightly under thumb pressure, joints often sealed with caulk | Foam board over sheathing and framing |
| Drywall | Indoor walls; sounds hollow between framing members | Wood or metal studs with open space between |
If you rent, the building owner or property manager usually knows the wall construction and can tell you which mounting methods are allowed.
Brick
- Tape the template up with duct tape; masking tape may not hold on brick.
- Use a hammer drill and a carbide masonry bit slightly larger than the studs.
- Drill into the face of the brick where you can. Anchor makers generally rate their anchors in the masonry unit, not the joint.
- Blow the dust out of every hole. Dust left in the hole weakens the adhesive.
- Set the studs in a masonry anchoring adhesive or the adhesive your hardware instructions name.
Mortar joints. Some landlords and building standards require holes in the mortar joints instead, because mortar is easier to patch than brick. If your landlord asks for that, follow it, and tell us before your drawing is final.
Hollow brick. If the drill breaks into a void, use a screen tube: a mesh sleeve that holds the adhesive around the stud instead of letting it run into the cavity.
Concrete block and poured concrete
Concrete block is usually hollow. Drill into the solid face shell and use screen tubes with adhesive, as with hollow brick. Mortar joints in hollow block are often filled only to the depth of the face shell, so they are a weak spot for anchors unless the anchor maker says otherwise. Poured concrete is solid: drill, clean the hole well and set the studs in anchoring adhesive.
Hard-coat stucco
- Put a piece of tape over each mark to help keep the finish coat from chipping.
- Start each hole with the drill in rotary mode, then switch to hammer once the bit has bitten into the surface.
- Drill through the stucco into the solid layer behind it: block, concrete, or the sheathing and framing. The studs must reach that layer; stucco by itself is not a structural anchor.
- Watch for wire lath. It can make the edge of the hole crumble.
- Fill and seal every hole well. A cracked or open hole lets water into the wall.
EIFS (foam stucco)
EIFS is a layer of foam board with a thin reinforced finish on top. It looks like stucco but is soft underneath, and it will not hold a sign by itself.
- Fasteners must pass through the foam into something structural: wood or metal framing, block, concrete or plywood sheathing. Gypsum sheathing does not count.
- EIFS makers recommend a sleeve in each hole so tightening the hardware does not crush the foam, and a neutral-cure sealant around every penetration.
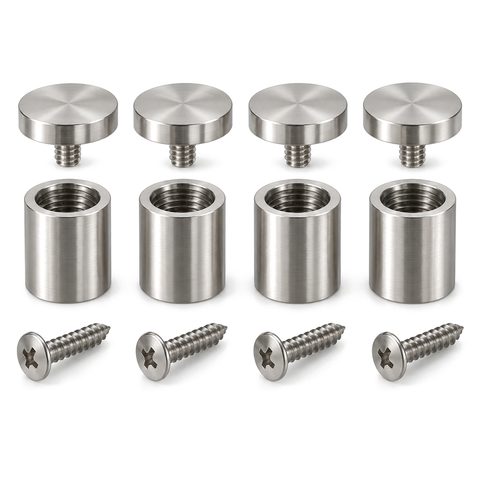
- Many EIFS makers also prefer anything mounted on the wall to sit slightly off the surface. Our letters are built to mount flush, but standoffs are available on request with the standoff mounting kit. If your wall is EIFS, tell us when you request a drawing.
- A raceway is another way to limit the number of holes. See raceway vs direct mount.
Drywall (indoor walls)
Lobby and reception signs often go on drywall. See also reception logo wall signs.
- Find the framing with a stud finder and note where it falls under the template.
- Light letters: studs set in adhesive in the drywall can be enough for small, light letters.
- Heavier letters: fasten into the framing where the template allows, or use toggle-type anchors through the drywall. Check the anchor’s rated load against the weight of your letters.
- Plain screws in drywall do not hold; the gypsum crumbles.
- Indoor signs usually plug in through an adapter, so plan where the cord or the low-voltage wire runs before the letters go up.
Rules that apply to every wall
- Check behind the wall for wiring, pipes and gas lines before drilling.
- Turn off power at the breaker before working near any existing wiring. A licensed electrician connects a hard-wired sign; you can handle the 12 V side yourself.
- Work safely on ladders and lifts, and use two people for large letters.
- Seal wire holes on outdoor walls, but leave the drain holes in the bottom of the letters open.
- Lost a stud or need different anchors? Order a letter mounting hardware kit.
 Front-Lit Channel Letters