Planning
Channel letter sign design tips that work day and night
Design tips for channel letter signs: short copy, size for the distance, contrast by day and night, spacing for lit letters, and colors that light well.
Updated
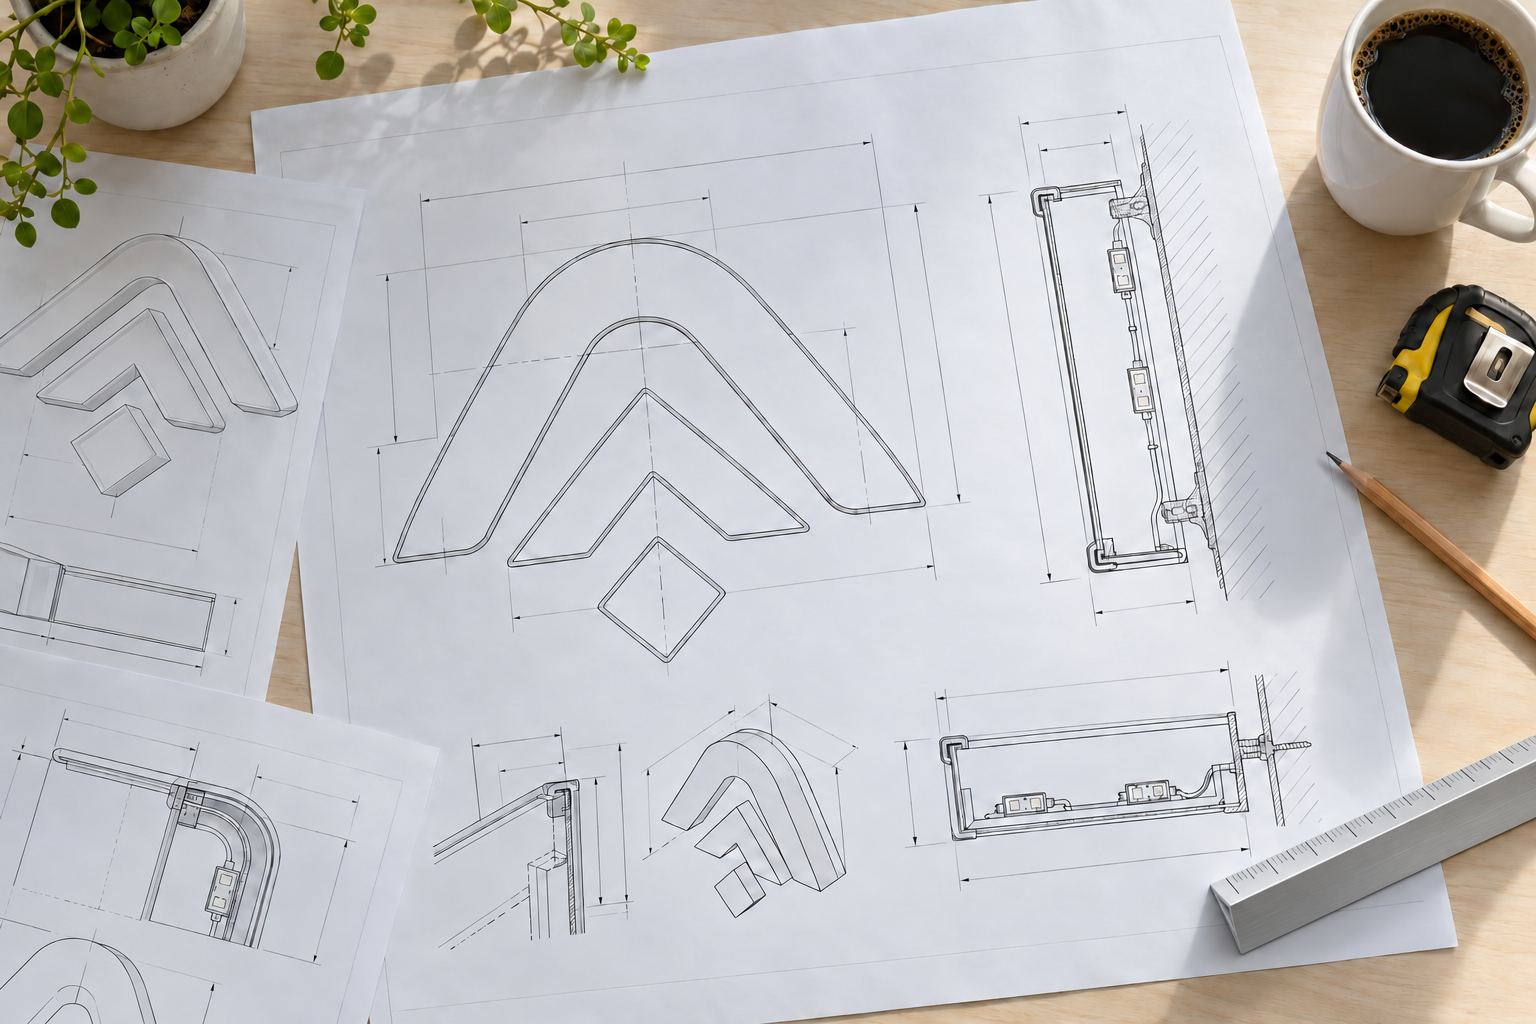
A channel letter sign works when someone passing can read it in a glance, by day and at night. That comes down to a few decisions: say less, size the letters for the distance, plan the contrast for both daylight and dark, and pick a font and colors that light well. The tips below follow the order we use when we lay out a drawing.
1. Say less
The name of the business is the sign. Each extra word makes every word smaller in the same space and gives a driver more to read in the same moment. Put the phone number, hours and services on the door, the window or a second, smaller sign. Fewer letters also means fewer letters to build, which shows in the price estimator.
2. Size for the reader, not the wall
Start from where people will read the sign: across the street, from the far side of the parking lot, or from a car going past. A common rule is about 1 in of letter height for every 10 ft of distance. How tall should sign letters be has the chart, and the letter height calculator does the math. Letters that are bigger than the distance needs do not read better; they crowd the sign band and may break the size limits.
3. Give the sign room
Letters squeezed edge to edge in the sign band look cramped and read worse. Leave clear wall around them, center them on the part of the facade people look at, such as the entrance or the middle of the storefront, and line them up with the building rather than with a downspout or a light fixture. Many landlords set how much of the frontage a sign may fill. How to measure your wall for a sign shows what to measure, and the sign preview tool shows the width of your text at a given height.
4. Plan contrast for day and night
A sign has two looks, and both need contrast with the wall:
| Style | By day, contrast comes from | At night, contrast comes from |
|---|---|---|
| Front-lit | Face color against the wall, plus the returns | The lit face against a dark wall |
| Halo-lit | The metal face against the wall | The halo on a light, matte wall around dark letters |
| Front-and-back lit | Face color against the wall | The lit face plus the halo |
| Open-face LED neon | The channel against the wall | The line of neon |
| Non-lit | The finish against the wall | Only outside light |
A white face on a white wall disappears by day; a dark halo letter on a dark wall disappears at night. If the wall works against the style you want, a backer panel gives the letters their own background.
5. Choose a font that survives light
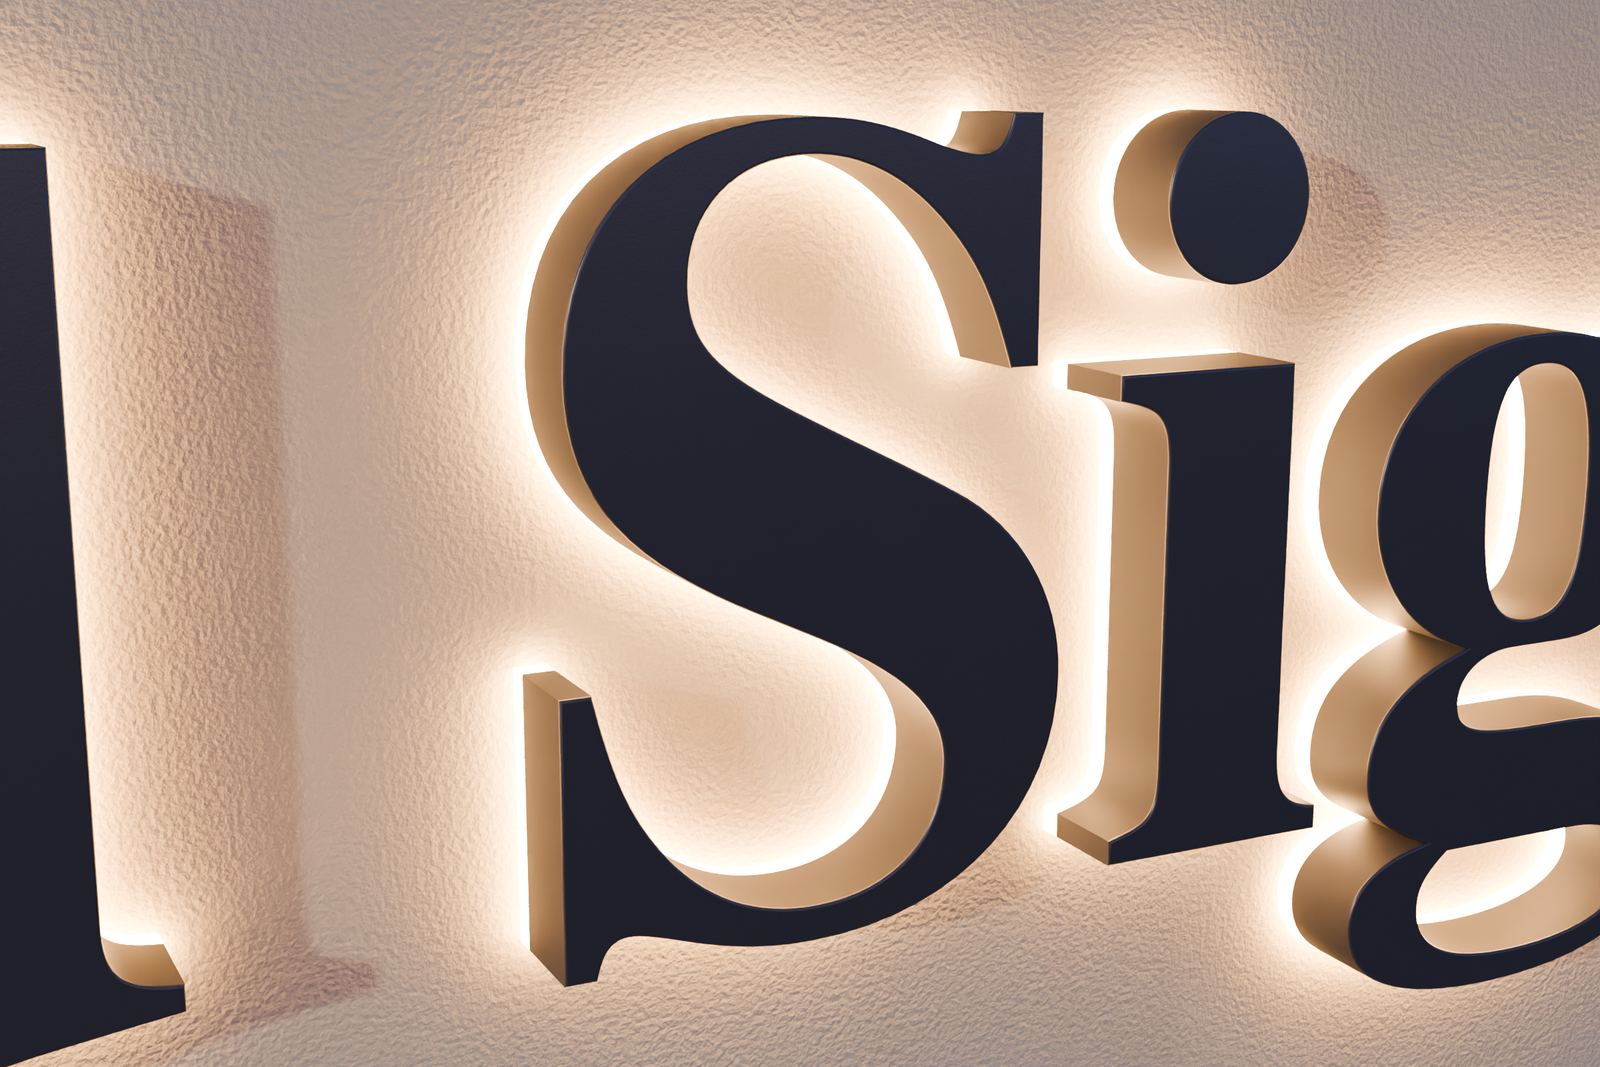
Lit letters need strokes wide enough for the LEDs. Regular to bold weights, open shapes and plain sans-serifs or sturdy serifs work in every style. Thin scripts and hairline serifs can work, but often need a larger size or a different lighting style. Choosing a font for channel letters covers stroke widths, scripts and lowercase letters.
6. Space lit letters a little wider
At night, a bright letter appears to spread into the dark around it. Road sign research calls this irradiation: bright strokes bleed into the gaps and the openings inside letters, and the word gets harder to read. Spacing that looks right on paper can look tight once lit. Allow a little more space between lit letters, avoid fonts with very small openings in letters like e and a, and do not run the sign brighter than it needs to be. How bright should a lit sign be and dimming LED signs cover the brightness side.
7. Pick colors that light well
White and light colors glow brightest. Deep blues, greens, purples and browns let little light through, glow dimly and can read almost black by day. If your brand color is dark, options include a lighter shade on the face, a white face with the color on the returns, or halo-lit letters with the color painted on the metal face. The light color matters too: LED color temperature for signs explains warm, neutral and cool white. Matching sign colors to your brand goes through every part that carries color.
8. Simplify the logo for the sign
A logo designed for a business card often has details that vanish from across the street: thin outlines, small text, gradients, fine gaps. For the sign version, merge or drop what will not read, keep the shape people recognize, and consider building the logo as one lit logo sign shape beside the letters. Fine details are simplified only where they cannot be built, and the drawing shows any change for your approval. What file to send for a custom sign explains which files give the cleanest result.
9. Use one main lighting style
One style for the whole sign usually reads best. Mixing works when it is deliberate: a front-lit name with a halo-lit logo, or a lit name with a non-lit stainless tagline. Mixing several styles and finishes for no reason adds parts and makes the sign look busy. Front-lit vs halo-lit vs open-face compares the styles, and types of channel letters lists them all.
10. Design for the angle
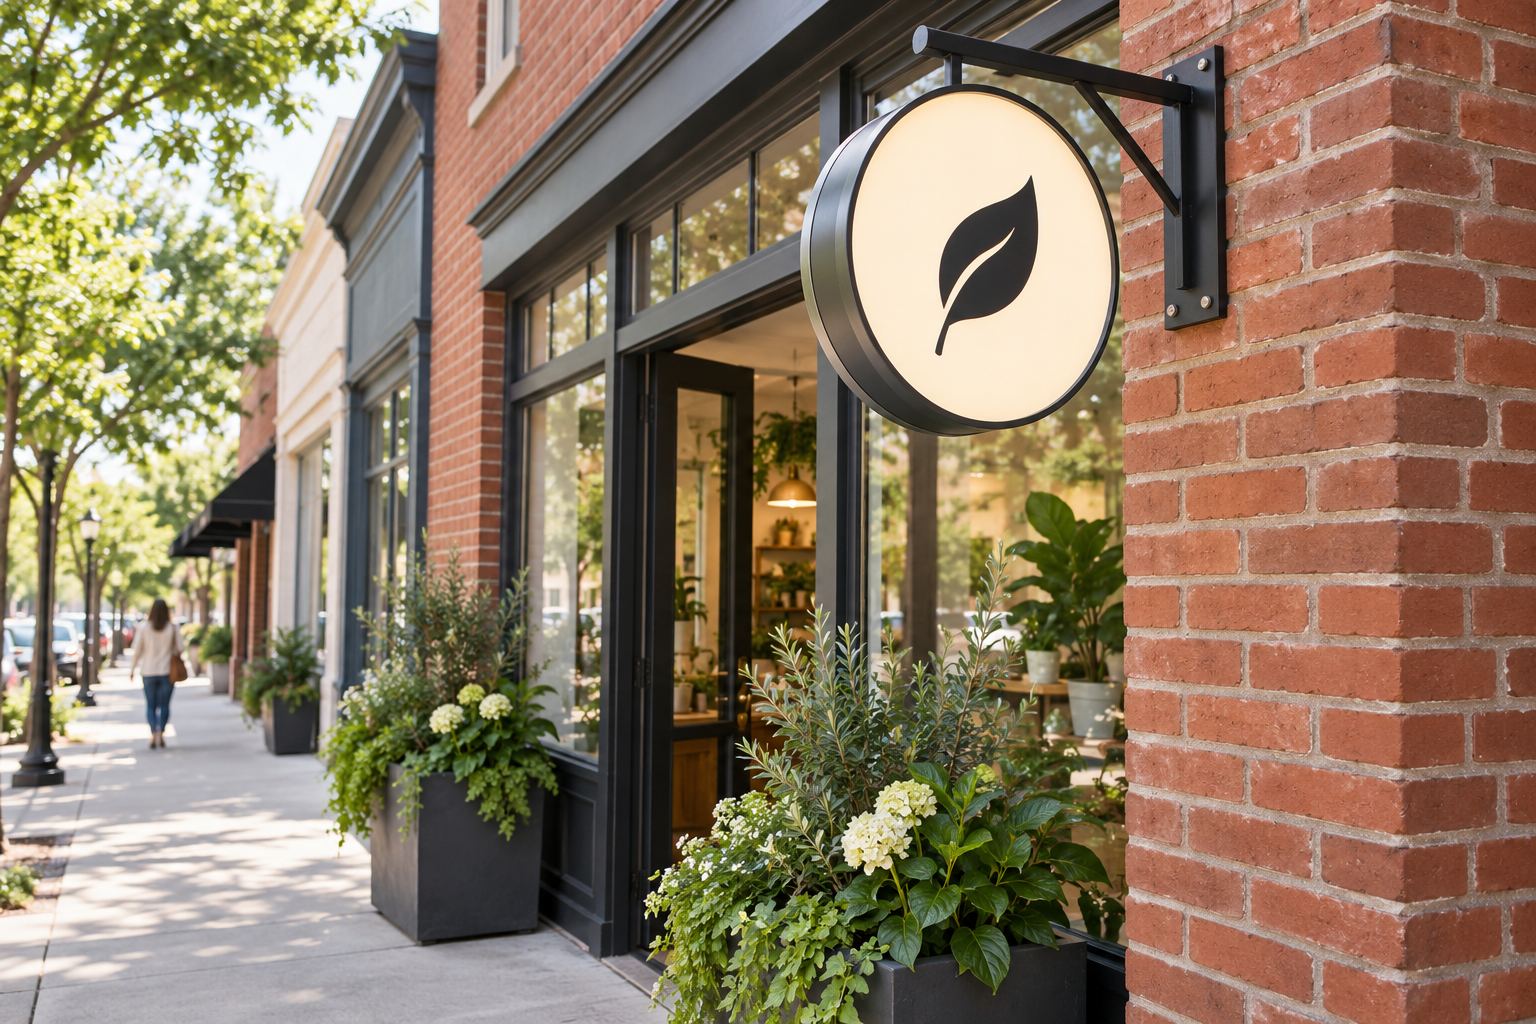
Most people see a wall sign from the side, walking along the sidewalk or driving down the street. Letters with deep returns show more of their sides at a sharp angle, and halo letters read less well from far off to the side. If most of your customers approach along the sidewalk, a blade sign that sticks out from the wall can do what a flat sign cannot.
11. Check the night view before you approve
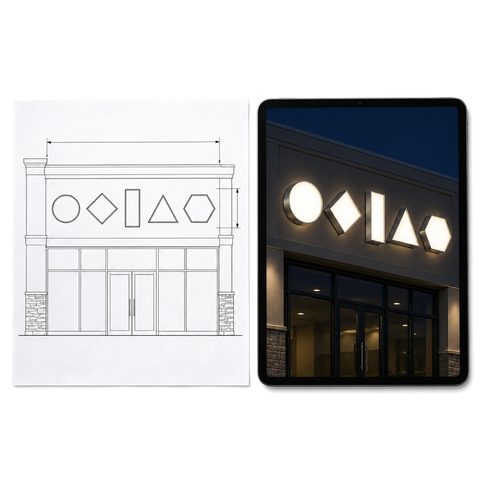
The daytime drawing is only half the sign. Look at the lit preview: does the name still read, does the logo hold together, does the halo have a wall to land on? Then ask whether the light color and brightness suit the street. This is the cheapest moment to change anything.
Common design mistakes
- Too much text in too little space.
- Letters sized to fill the wall instead of to the reading distance.
- A dark brand color on the lit face with no plan for night.
- Halo letters on a dark, glossy or rough wall.
- Tight letter spacing that closes up once lit.
- A detailed logo shrunk until its details disappear.
- Designing before reading the landlord’s sign criteria and the city’s rules. See sign permits.
Before you approve
- Check the drawing against your landlord’s criteria and the city’s size limits.
- Hold a printout at the scale of the drawing up to a photo of your storefront, or tape a full-size paper mock-up of one or two letters to the wall and look from the street.
- Look at the lit preview as well as the daytime view.
- Ask for changes now: size, spacing, colors and lighting are easy to change on a drawing.
Send your logo or text and wall size through get a free drawing. We email a design drawing with your sign to scale and a lit preview, plus an exact price, and nothing is built until you approve it.