Install and care
How channel letters are made, from drawing to light
How a channel letter is built: parts cut from your approved drawing, 304 stainless returns bent and welded, LEDs laid out, faces fitted, then tested.
Updated

A channel letter is a shallow metal can in the shape of a letter. It starts as your approved drawing: machines cut the flat parts from that file, a strip of 304 stainless steel is bent to follow every curve of the outline, the seams are welded, and the LEDs and wiring go inside before the face goes on. Lit letters are normally switched on and checked before they are packed with a full-size paper template for the wall.
Here is each step, and what it means for the sign you get.
The parts of a channel letter
| Part | What it is | On our letters |
|---|---|---|
| Return | The side wall, bent to the outline. Its width is the depth of the letter. | 304 stainless steel |
| Face | The front of the letter | Translucent acrylic on front-lit letters; solid 304 stainless on halo-lit and non-lit letters |
| Back | The side that sits against the wall | Closed on front-lit letters; translucent acrylic on halo-lit letters |
| Trim cap | A plastic edge that holds a front-lit face | 1 in trim cap, or none on trimless letters |
| Lighting | LED modules or LED neon on 12 V DC | UL-listed power supply and LED modules |
Step 1: The drawing
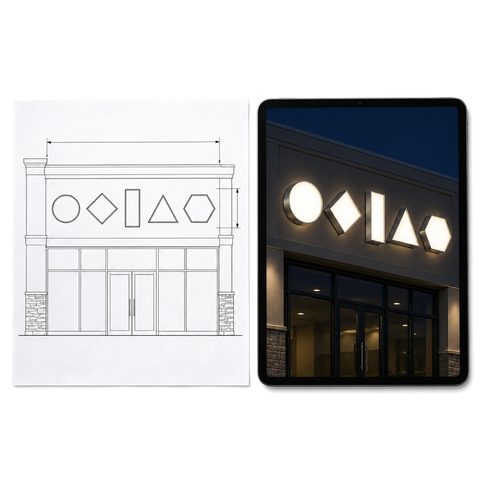
Everything starts on paper. You send your logo or text and the size of your wall, and we email back a free drawing with a lit preview and an exact price. The drawing fixes the letter height, stroke widths, lighting style, light color, return depth and how the letters mount. Front-lit letters are most often 3 in or 5 in deep. Halo-lit letters are usually 2 to 3 in.
Nothing is cut until you approve the drawing. The approved artwork then becomes the file the cutting machines follow, so the letters come out the shape you signed off on. If you are still gathering artwork, see what file to send for a custom sign, or request a free drawing.
Step 2: Cutting the faces and backs
The flat parts of each letter are cut on computer-controlled machines, typically a router, a laser or a waterjet, following the vector outline of each letter. That includes the stainless faces of halo-lit and non-lit letters, the backs, and the acrylic faces of front-lit letters. Holes for mounting hardware and wiring go into the backs at this stage.
Very fine details have limits. A thin stroke or a tight inside corner needs room for the return to bend around it and for light to fit inside. That is why some fonts work better than others; choosing a font for channel letters covers the minimums.
Step 3: Bending the returns
The returns start as a flat strip of stainless steel fed from a coil into an automatic channel letter bender. The machine follows the same outline as the cut parts. Where the letter has a sharp corner, it notches the strip so the bend comes out crisp; along a curve, it bends the strip in many small steps. The width of the strip sets the depth of the letter, so a 5 in deep letter is bent from a 5 in wide strip.
Before these machines existed, returns were bent by hand around the cut back. Machine bending makes every “e” in a long name match the others.
Step 4: Welding and assembly
The bent return is joined to the face or the back, depending on the style. In the industry, aluminum letters are often riveted, stapled or stitched together with wire. Stainless steel letters are usually welded at the seams, and there are laser welders made for this exact job. The welded seams are then finished along with the rest of the metal.
Stainless does not rust through, and a brushed or mirror stainless letter can be left bare instead of painted. 304 stainless vs aluminum channel letters explains the trade-offs.
Step 5: Finishing the metal
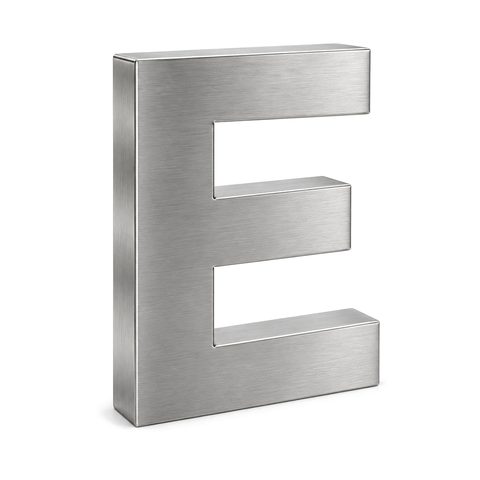
The metal finish is done next: brushed, mirror, gold (titanium-coated) or painted in any color. Halo-lit letters can also have your artwork printed on the stainless face. Each finish behaves a little differently on a wall, especially with fingerprints and glare; stainless steel letter finishes shows where each one fits.
Step 6: Lighting
How the light goes in depends on the style:
- Front-lit: LED modules are fixed to the back of the can, facing the face. How far apart they sit depends on the depth of the letter, the stroke width and the face color. LED makers publish layout charts for this, and a good layout avoids dark corners and bright spots.
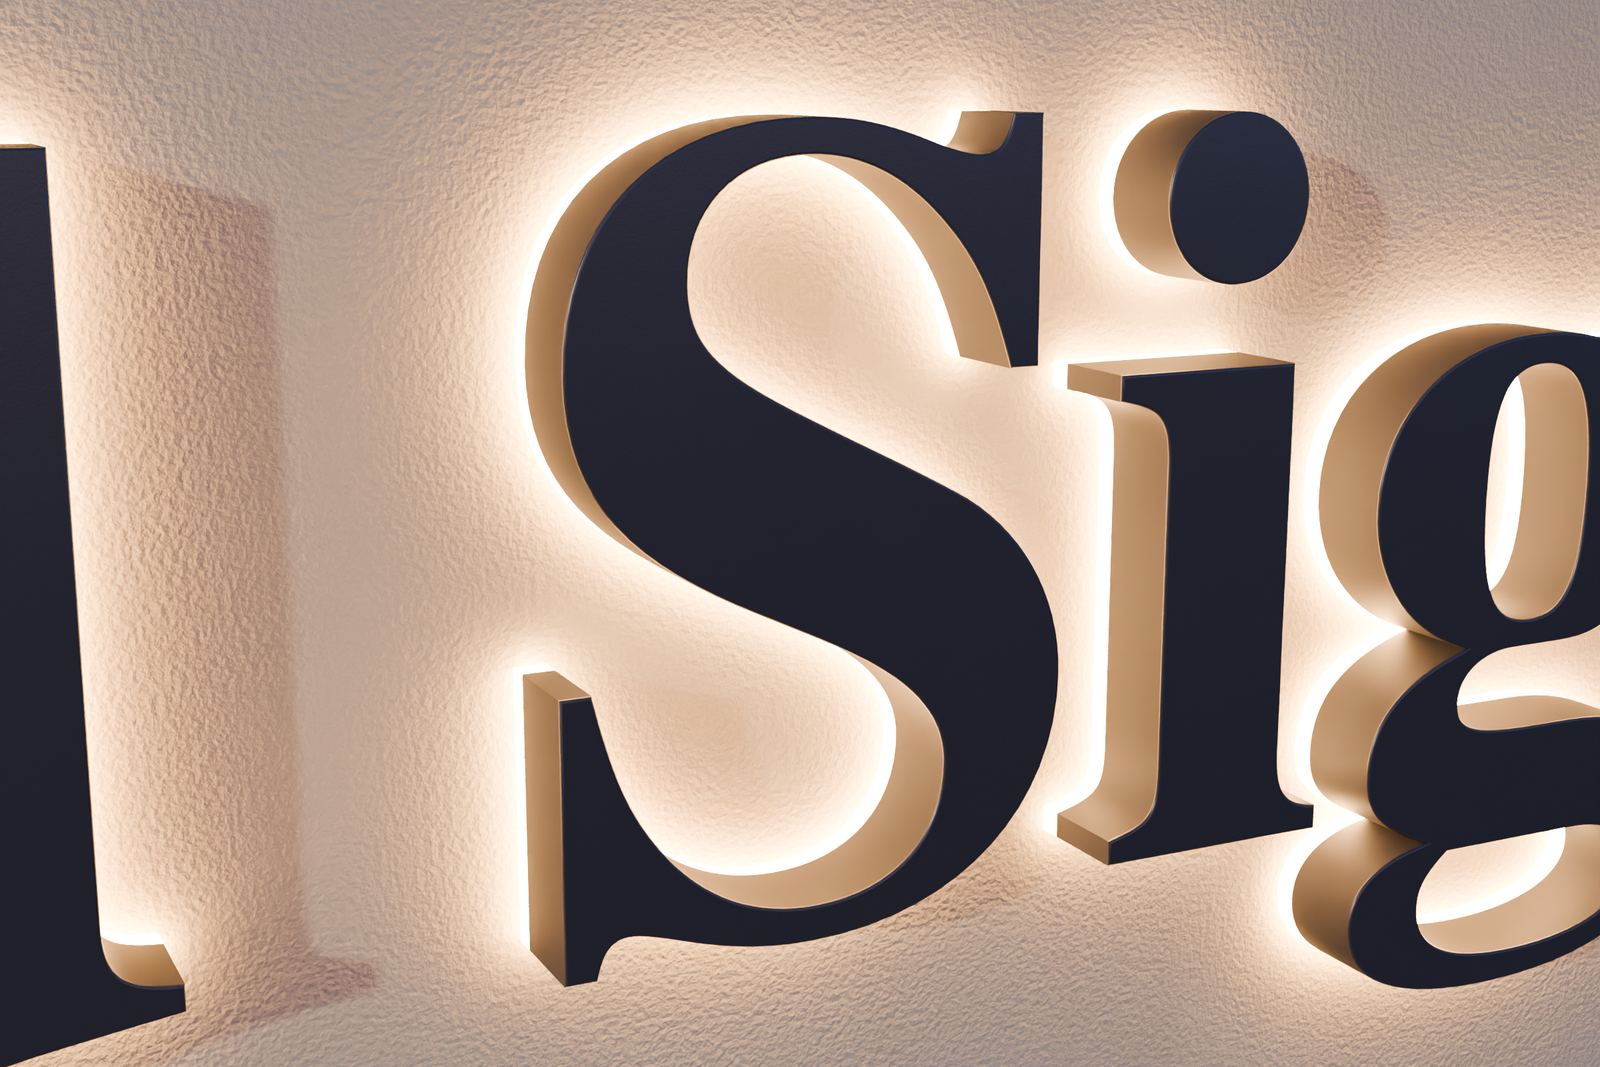
- Halo-lit: the LEDs inside light the translucent acrylic back. The letter still mounts flush to the wall; the glow comes out through the acrylic around the edge of each letter and spreads on the wall.
- Front-and-back lit: an acrylic face and an acrylic back, so the face glows and a halo shows.
- Open-face: LED neon runs along the centerline of each stroke, held by clips and usually set toward the front of the channel.
The modules are wired in chains, positive to positive and negative to negative, and a lead wire leaves through the back of the letter to the power supply. Everything runs on 12 V DC. Outdoor builds use IP65-rated LED modules and outdoor power supplies, and they get small drain holes at the low points of each letter. The electrical code asks for drain holes on signs in wet locations so that water that gets in can get out.
Step 7: Faces and edges
On a front-lit letter with a trim cap, a 1 in plastic trim cap runs around the edge of the acrylic face and shows a lip of about 1/4 in on the front. In the common method the trim cap is bonded to the face and screwed to the return, so the face can come off later for service. On a trimless letter, the acrylic face sits on the front edge of the return with no visible trim, so only the lit face shows from the front. Trim cap vs trimless compares the two.
If a fire marshal asks for flame-retardant faces, standard acrylic can be swapped for flame-retardant polycarbonate.
Step 8: Lighting test, template and packing
A good shop powers up every lit letter before packing and checks it for even light, dark spots and the right light color. Then the sign is packed with a full-size (1:1) paper mounting template and the mounting hardware. The template shows where each letter sits and where to drill, so the spacing on the wall matches the drawing. Installation, permits and the electrician who connects a hard-wired sign are not included; how to install channel letters walks through the job.
Every style is described in types of channel letters. To see what your own letters would cost in each style, try the price estimator, or browse front-lit letters and halo-lit letters.



 Free Sign Drawing and Lit Preview with Exact Price
 Brushed Stainless Steel Letters